Iced Easter Biscuits

When I came across this Easter biscuit/cookie cutter set by Meri-Meri I fell a little bit in love with the pretty shapes. Bunny rabbits and rainbows are two of my favourite things, I couldn't wait to dust off my piping nozzles, mix up some royal icing and have a little play. Sometimes it's nice to work on a little project just because inspiration strikes, with no customer expectations or the pressures of a looming deadline. 

Taking inspiration from the popular sleeping unicorn trend, I decided to opt for a dreamy sleeping bunnies design for my little fellas.

Sleepy Bunny Biscuits

I choose a soft pastel pallet using Sugarflair food colourings in Claret, Party Green, Egg Yellow and Ice Blue to create the spring like colour schemed. The delicate gold details have been carefully piped, left to dry and then painted by hand using Sugarflair Gold Lustre mixed with a tiny amount of clear alcohol. Once the icing had dried Sugarflair Pink Shimmer Lustre has been dusted on with a dry brush to create the cute little blush on the bunnies rosy cheeks. 

Sleeping Bunnies Iced Easter Biscuits

Once my creative juices were in full flow there was no stopping me, I couldn't resist adding a flower crown to some of the rabbits. I've decided these bunnies look like they could be off to a festival! What do you think?

Sleepy Bunny Iced Easter Biscuits

Rachel x

Oreo Chocolate Cake Recipe

CHOCOLATE OREO CAKE WITH CREAM CHEESE BUTTER CREAM FROSTING

Oreo chocolate cake recipe

For my sons birthday this year I made a Chocolate Oreo Cake based on his favourite biscuit.

I couldn’t find an existing Oreo cake recipe I was completely satisfied with, so I decided to adapt a Mary Berry chocolate fudge cake recipe to suit my needs and make up my own cream cheese buttercream biscuit filling.

There is always potential for disaster when adapting and experimenting with new recipes, but I am pleased to say that this cake was a huge success!

Now I’m not going to lie to you! This cake is naughty but as my son would say ‘OMG!!!’ It is incredibly nice!

Oreo Cake Recipe


Ingredients

FOR THE CAKE

  • 50 g (2 oz) sifted cocoa powder
  • 6 tablespoons boiling water
  • 3 Large Eggs
  • 50 ml (2 fl oz) milk
  • 175 g (6 oz) self-raising flour
  • 1 rounded teaspoon baking powder
  • 100 g (4 oz) softened butter
  • 275 g (10 oz) caster sugar
  • 6 Oreo cookies

FOR THE FROSTING

  • 200g Full Fat Cream Cheese
  •  175g Butter
  • 500g Icing Sugar
  • 12 – 14 Oreo Cookies

FOR THE DECORATION

  • Mini Oreo Cookies 


Method

1 Pre-heat the oven to 180°C/Fan 160°C/Gas 4. Line two 20 cm (8 in) sandwich tins with baking parchment.

2 Blend the cocoa and boiling water in a large bowl. Add the eggs, milk, softened butter and caster sugar and mix with an electric hand mixer. Fold in the sifted flour and baking powder and mix until the mixture has become a smooth batter. Divide the cake mix equally between the prepared tins and level the surface.

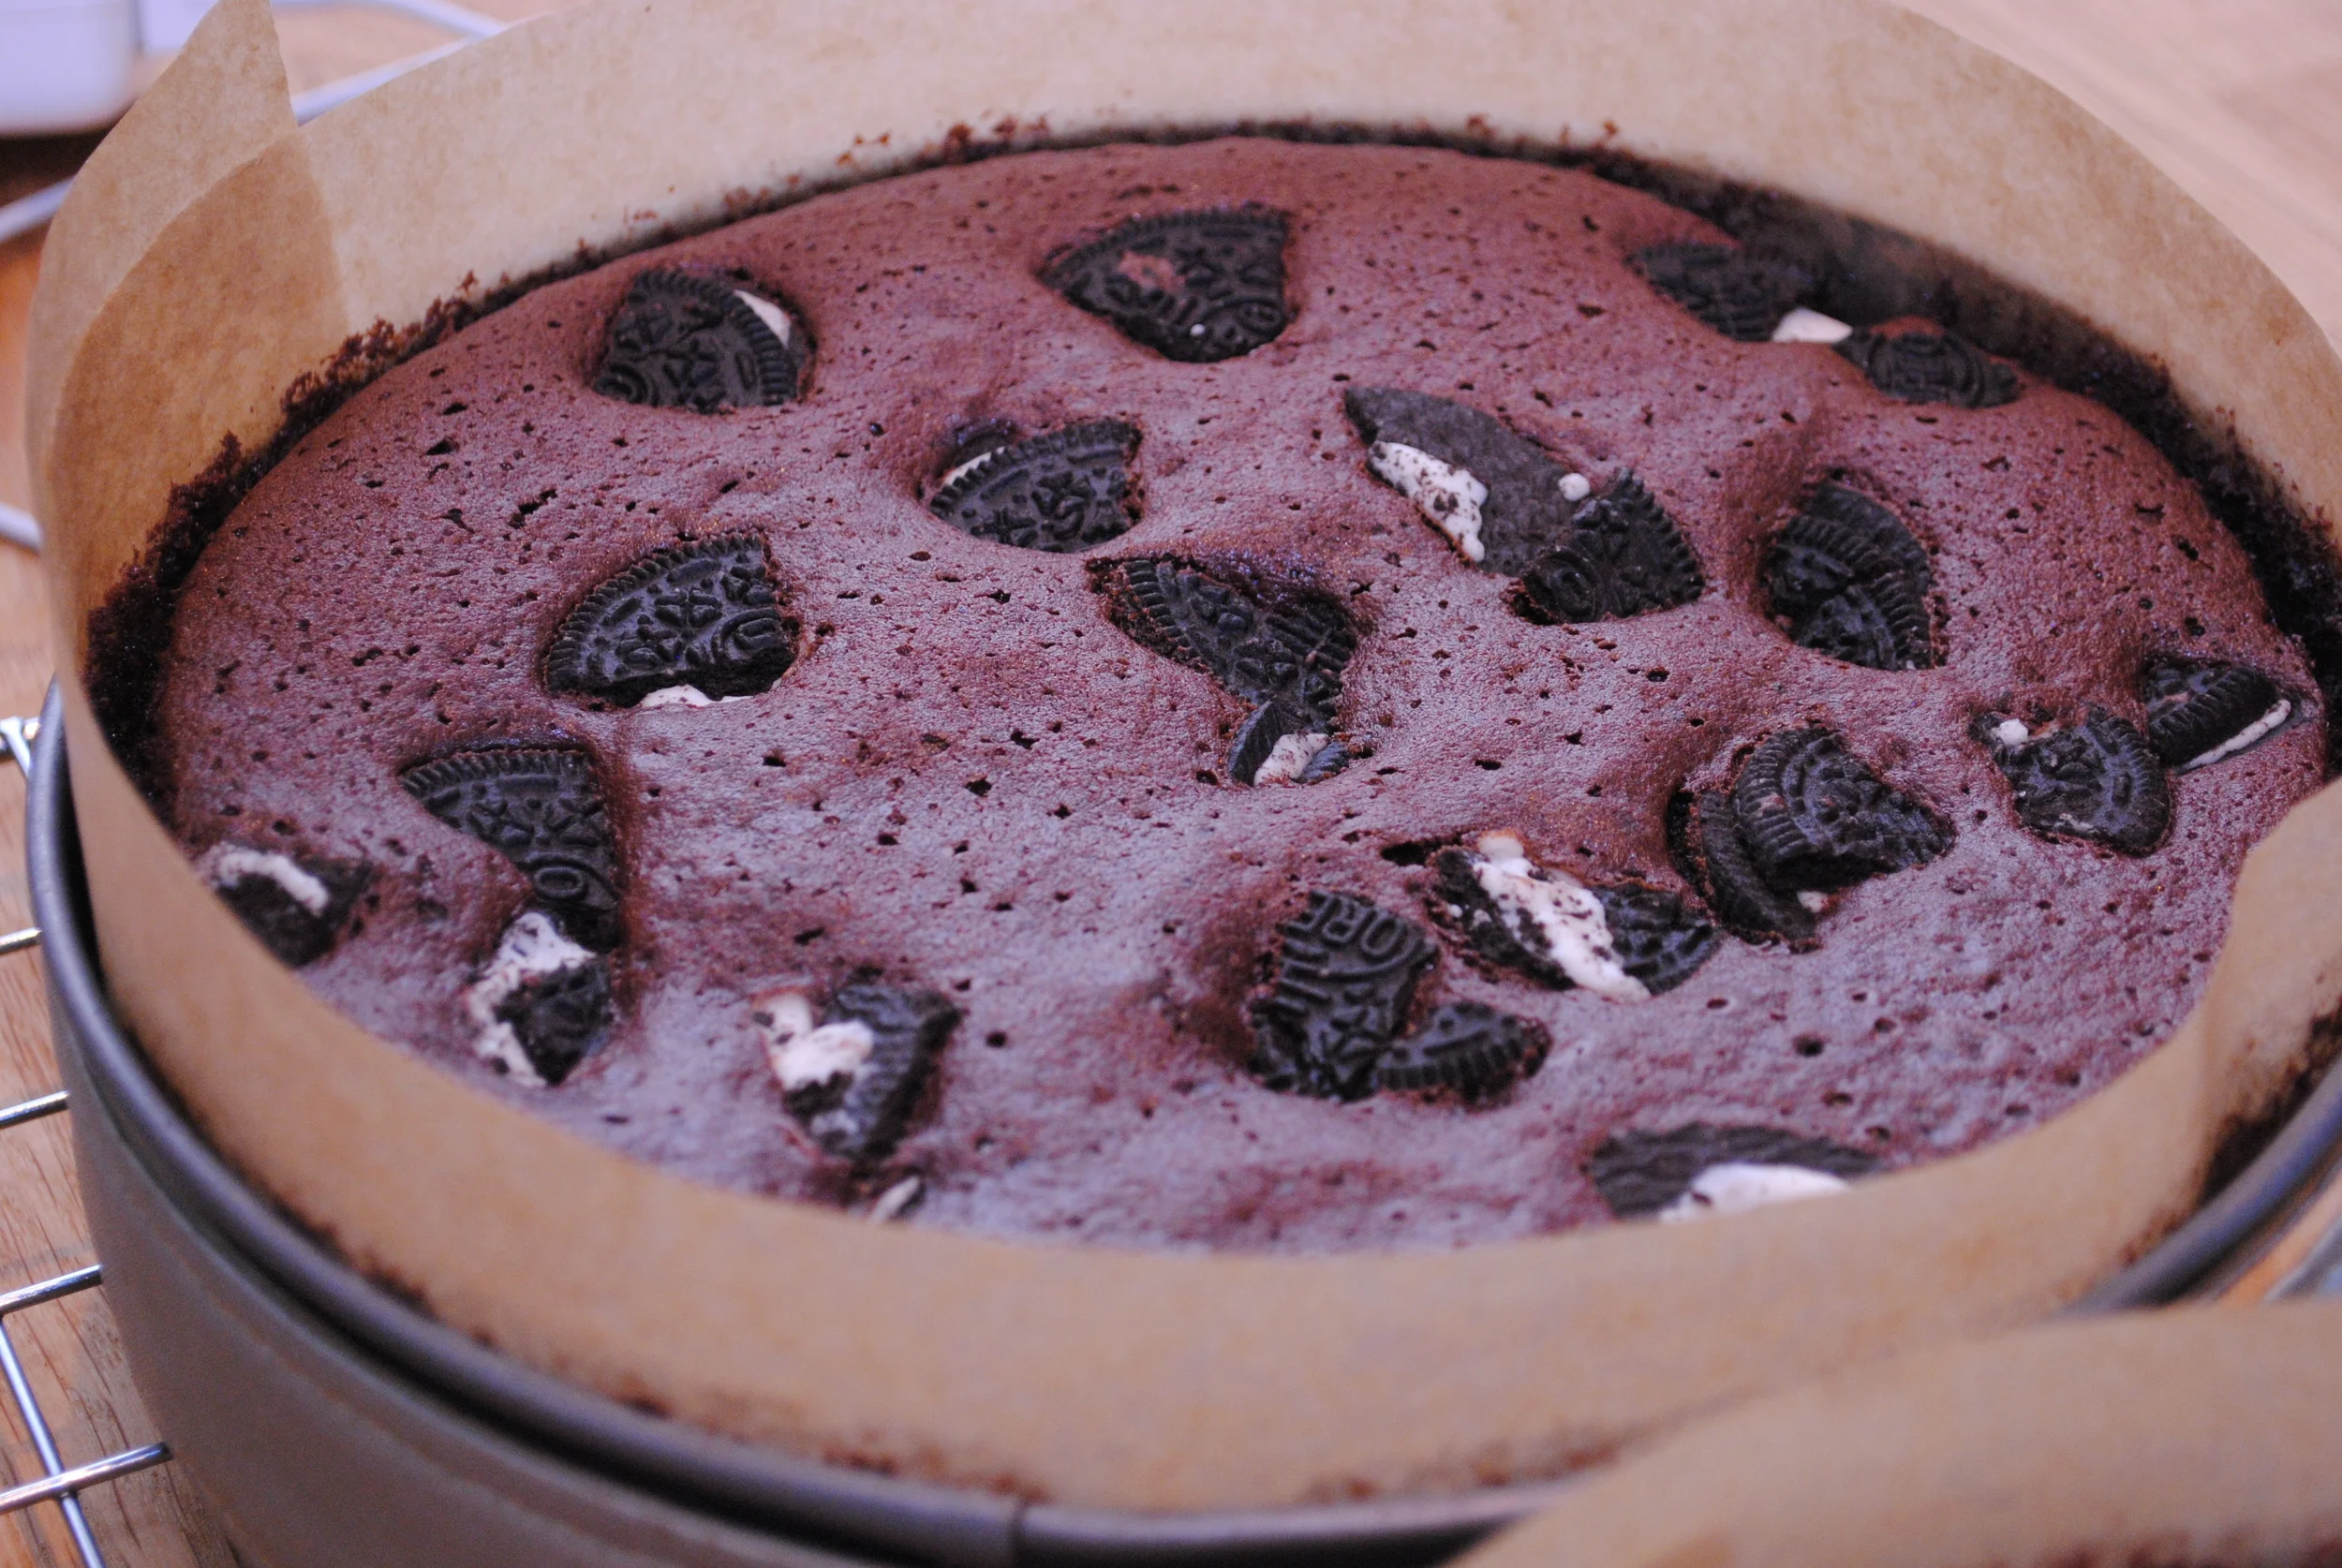
3 Roughly crush 6 Oreo biscuits in your hands one at a time and sprinkle onto the top of the cake mix sat in the tins. Push the pieces of biscuit down into the cake mix but do not submerge.

4 Bake in the pre-heated oven for about 30–35 minutes or until well risen and the tops of the cakes spring back when lightly pressed with a finger. Leave to cool in the tins for a few minutes then turn out on to a wire rack to cool. Handle carefully so as not to disturb the pieces of biscuit.

5 To make the frosting, using a hand mixer, beat together the cream cheese and softened butter until smooth. Sift the icing sugar into the mixture and whisk until combined. Mix on a high speed until light and fluffy with a white apperance.

6 Place 12 – 14 Oreos into a strong sandwich bag and secure the top of the bag. Crush the Oreos with a rolling pin or spoon until they form your required sized crumbs and pour into the bowl of frosting and mix.

7 Once your cakes have cooled, remove any remaining baking parchment and place one cake onto a cake plate, Oreo side up. Add a generous layer of cream cheese Oreo frosting to the bottom cake and sandwich the cakes together, again Oreo side up. Spread another generous layer of frosting over the top of the cake and decorate with mini Oreo biscuits.

oreo chocolate cake


Top Tips

Remember, when using a cream cheese frosting, this cake should either be kept in the fridge and consumed within 5 days or consumed within 2 days if kept out of the fridge.

If you do refrigerate the cake, it is best enjoyed once brought back to room temperature.

To save the Oreo biscuits going too soft, I prefer to make and add the frosting just before serving.

If you would prefer not to use cream cheese, you can replace this with an extra 75g of butter and 3 tbsp of milk, and 2 tsp of vanilla extract.