Vintage Chic Cupcake Class

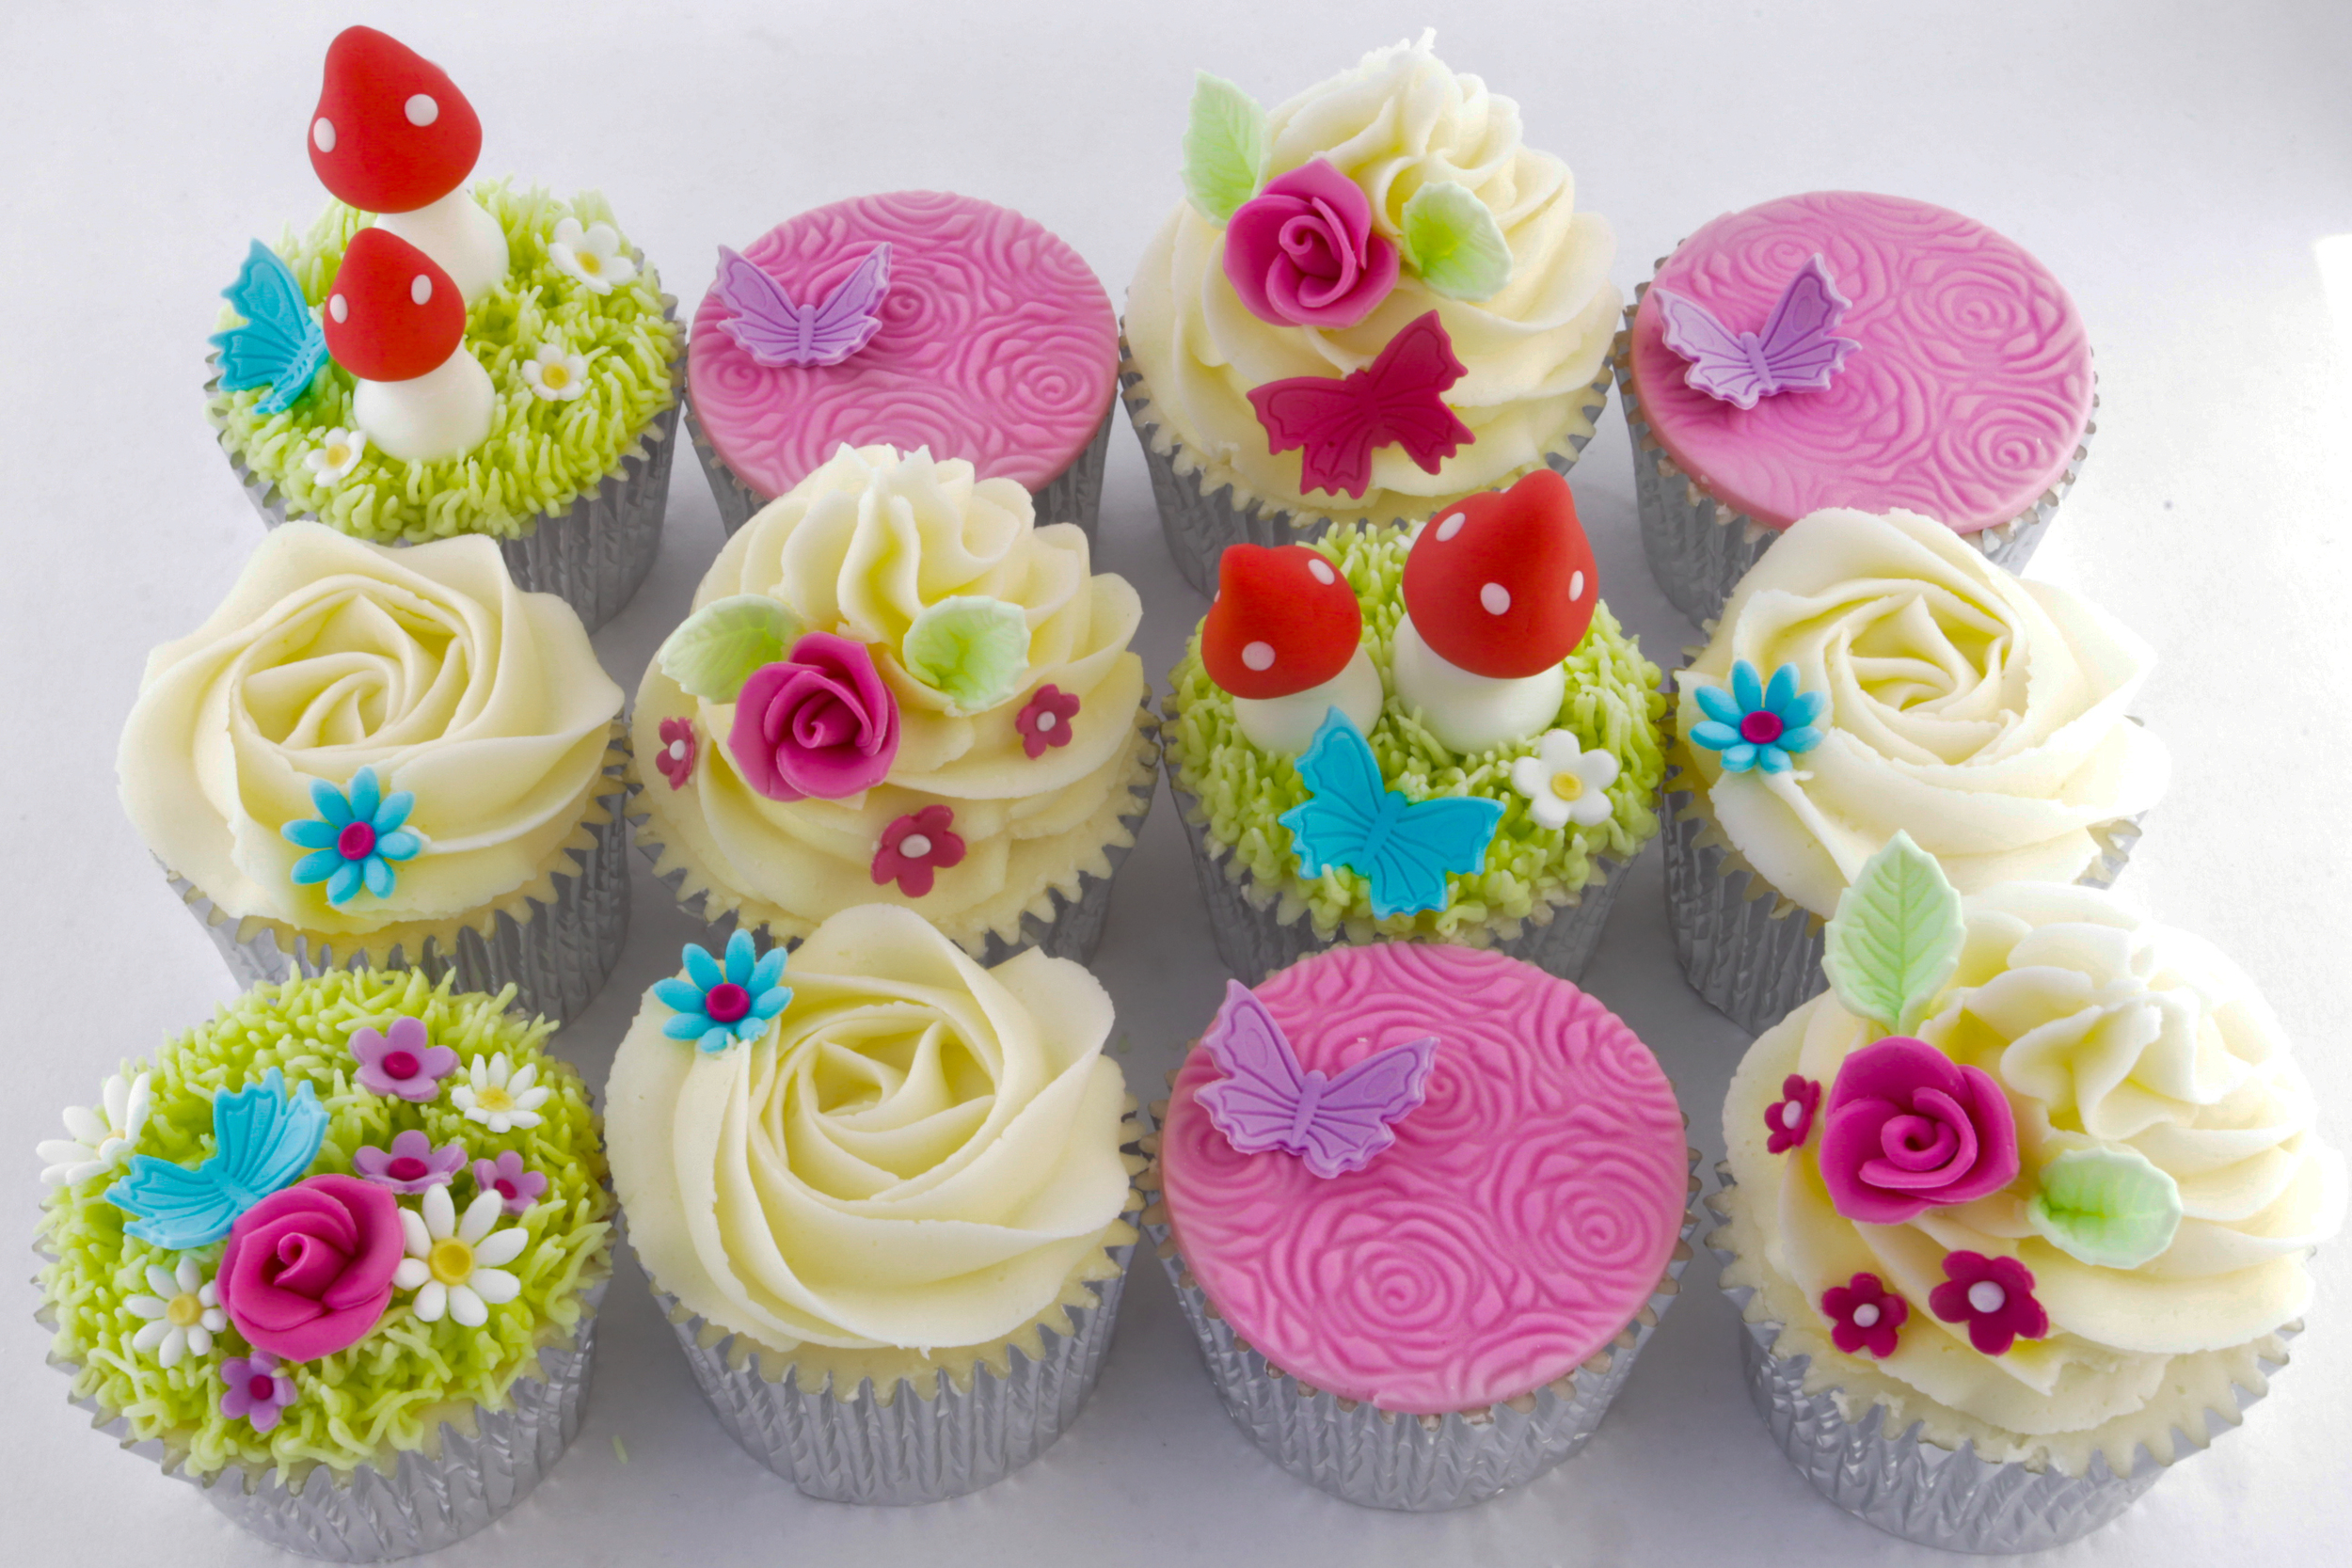
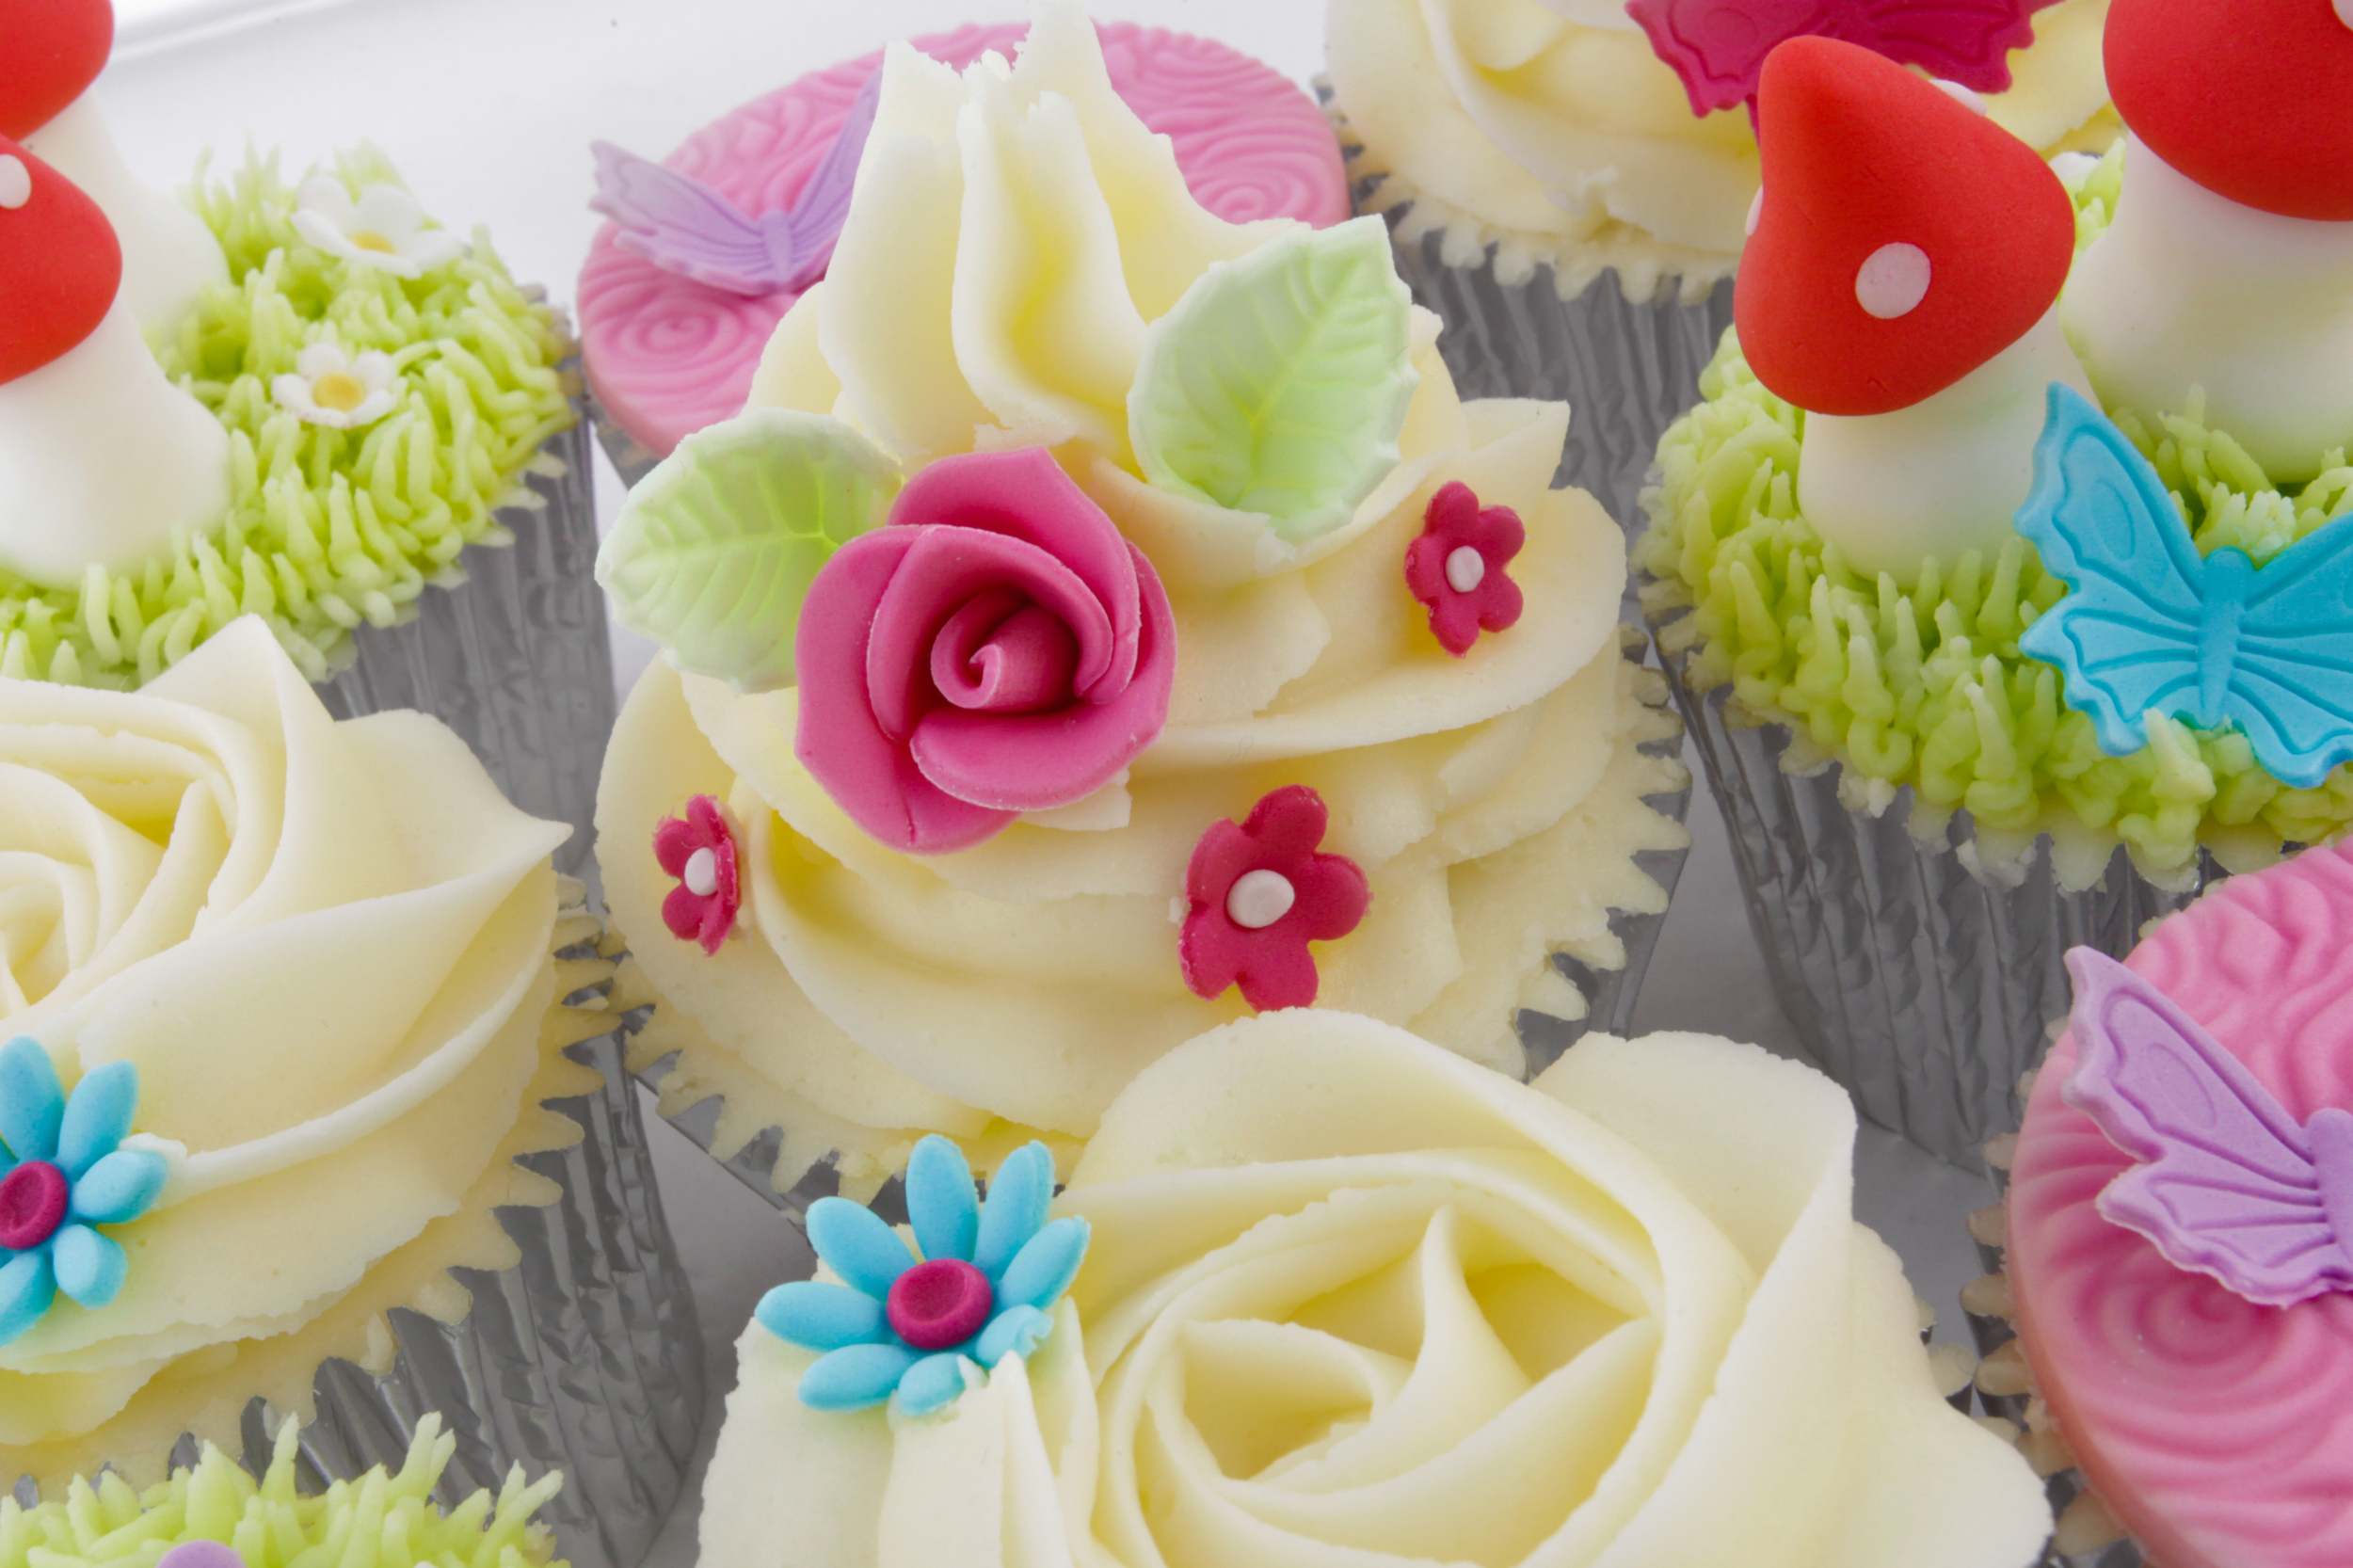
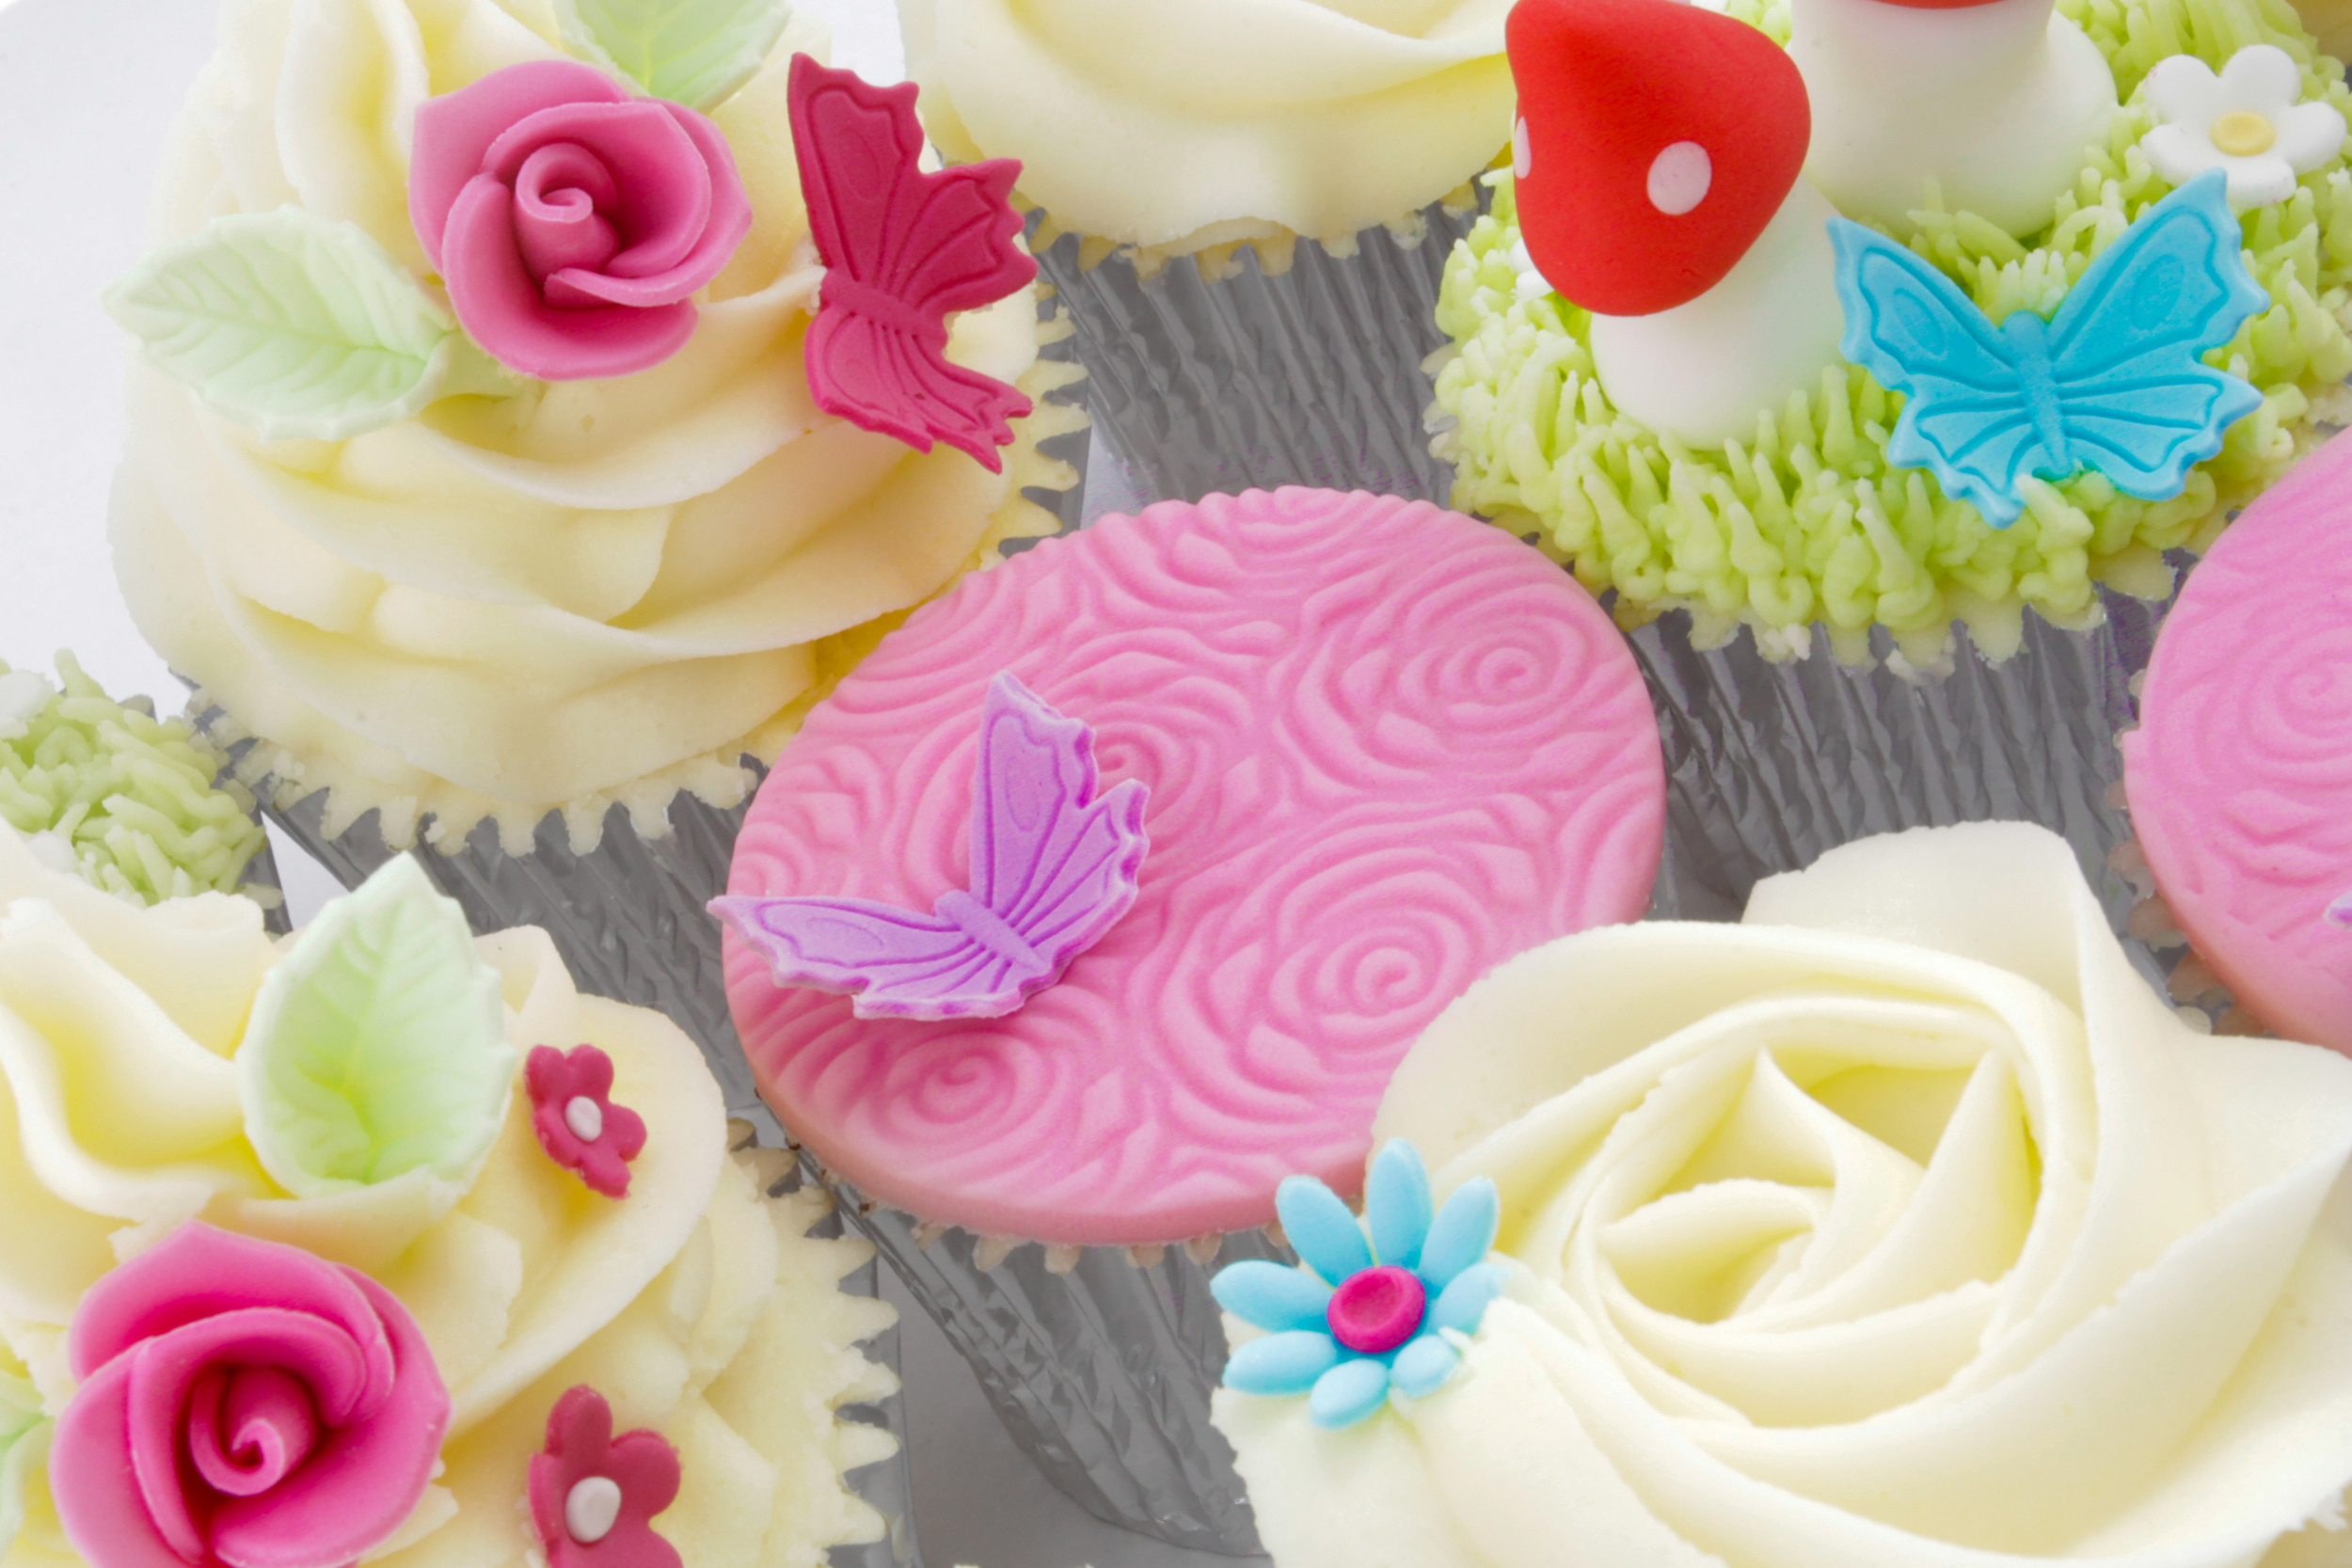
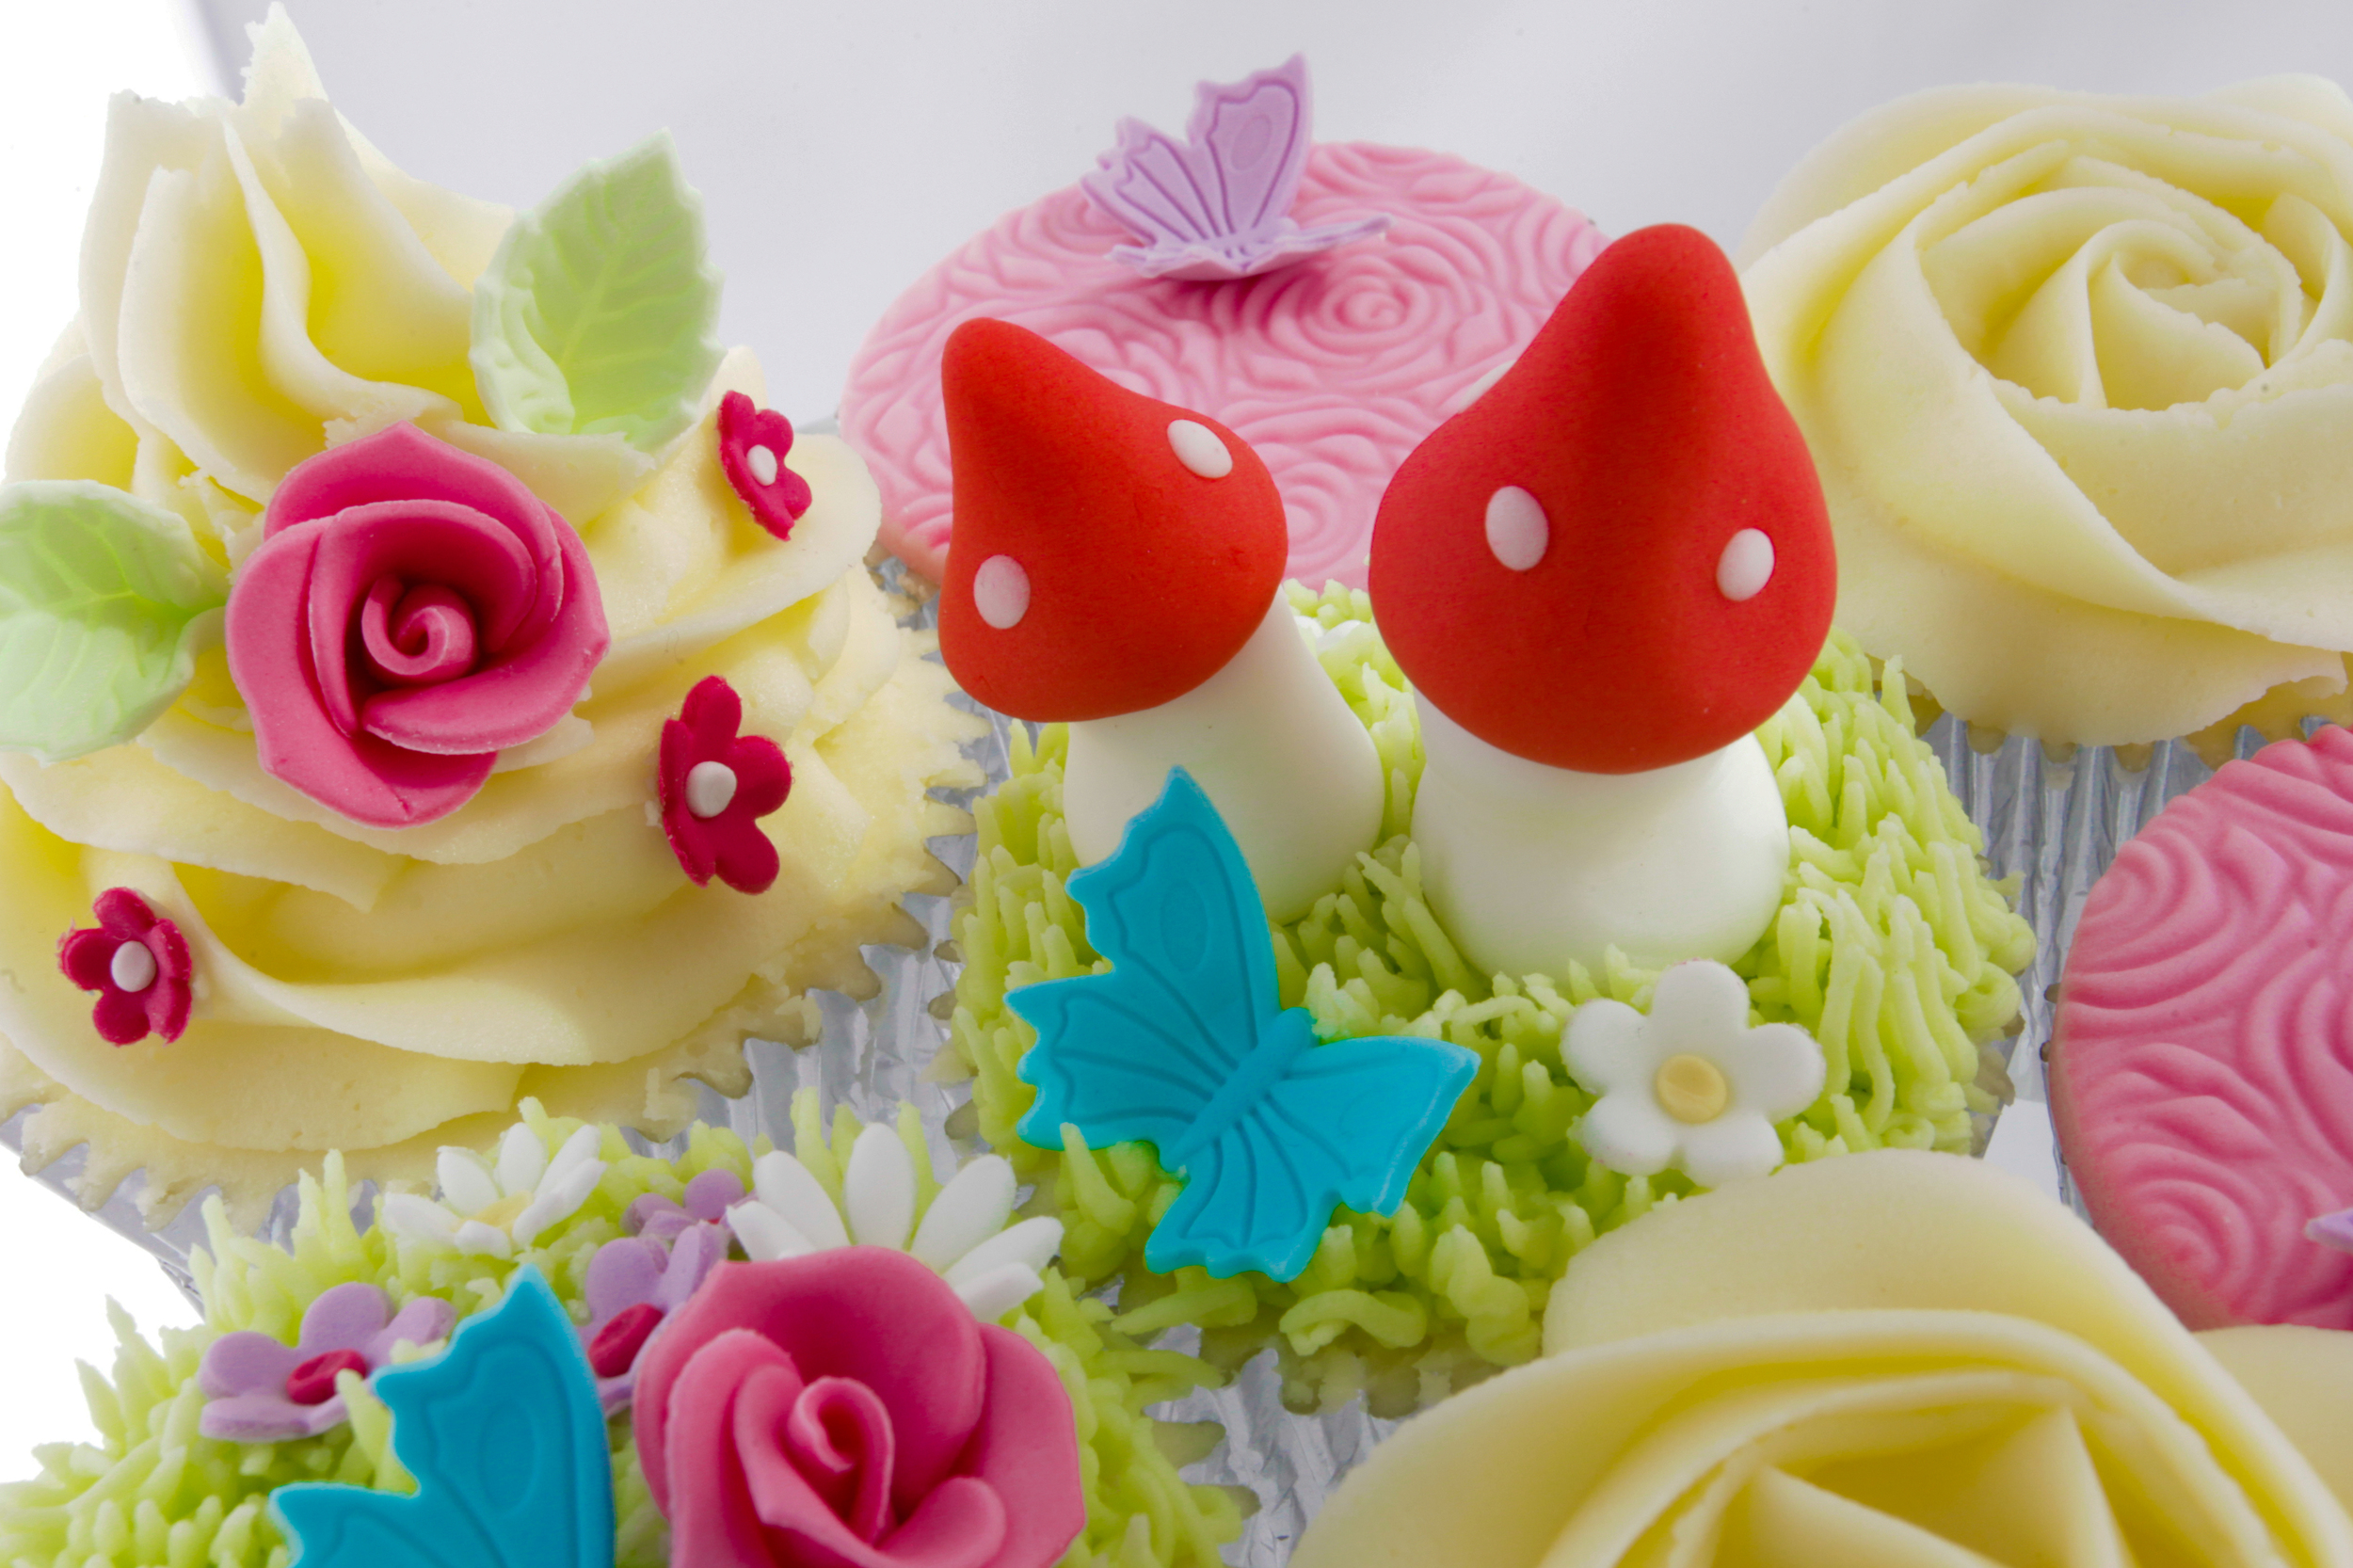
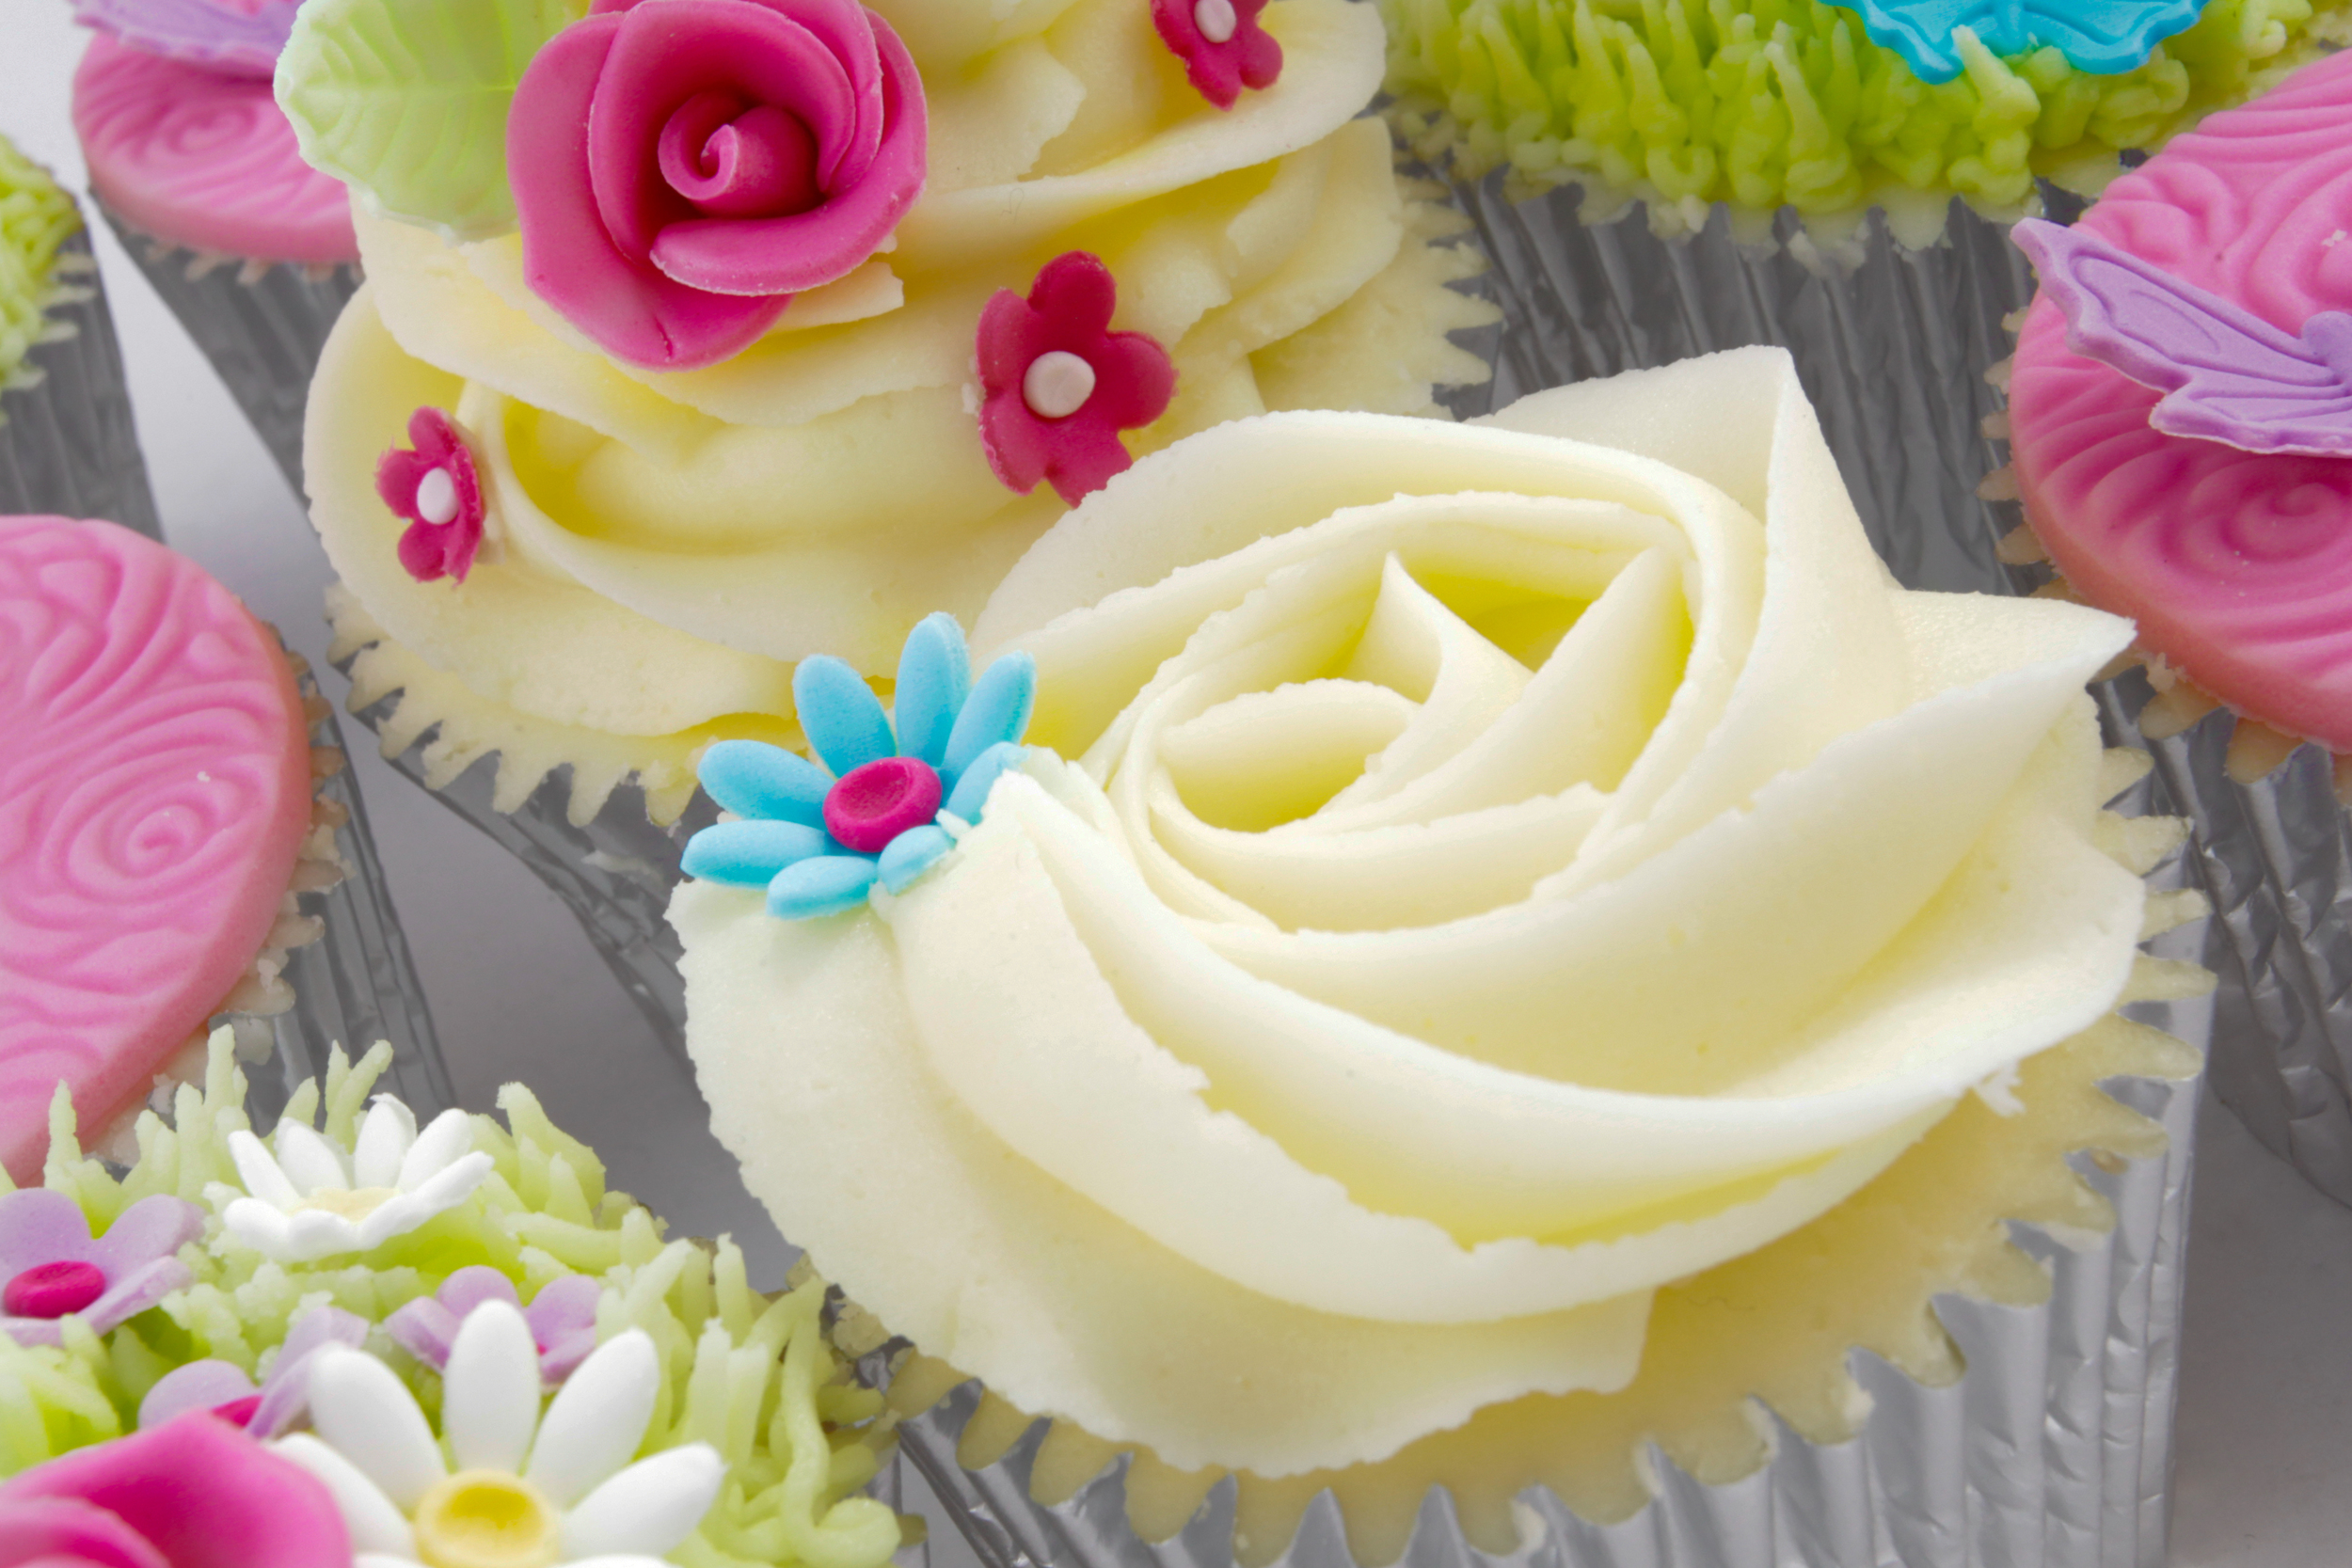
In this 4 hour class you will learn a variety of piping techniques including how to pipe with both butter cream and royal icing. You will be taught how to create the beautiful two tone butter cream Rose swirl effect and how to pipe intricate royal iced designs. You will decorate and take away 12 vintage chic cupcakes, perfect for a wedding or an afternoon tea party!

WEDDING CUPCAKES - VINTAGE CHIC

The Wedding Cupcakes Vintage Chic class focuses on the shabby chic theme that is currently ‘on trend’ and a popular design for wedding cakes and cupcakes. Using a soft pink, pearl and baby blue colour scheme, you will learn how to hand make pretty decorations and pipe with both butter cream and royal icing. This cupcake class is the perfect follow on from the Classy Cupcakes or Bows, Rose and Pearls Cupcake Class and is ideal for those wishing to advance their skills, however no previous experience is necessary.

Although the class concentrates on cupcake decorating a short introductory talk is given at the start of the class on how to bake and prepare the perfect cupcake ready for decorating. This information, full of informative hints and tips and the recipes we have used for the class, is also provided on a fact sheet for you to take away at the end of the workshop.

All ingredients and equipment to create the class designs is supplied for use for the duration of the class, including an apron to protect your clothes. Once you have booked your class space, all you need to do is turn up!

Complimentary tea, coffee and biscuits will be served during the class.

Maximum class size: 12 students

At the end of the class there will be a small shop with a selection of equipment for sale including recommended cutters, nozzles and tool sets, should you wish to recreate any of the class designs at home.


Classy Cupcakes

During this in-depth step by step 4 hour Classy Cupcakes class you will learn how to confidently pipe with butter cream to achieve a variety of looks. You will use a selection of our favourite nozzles and decorating tools to create and take home a box of 12 beautifully decorated cupcakes in the Classy Cupcakes design.

CLASSY CUPCAKES

The Classy Cupcakes class is a colourful and fun cupcake decorating class perfect  for both beginner and intermediate level.   Whether you are new to cake decorating or have experience and wish to enhance your skills, you can be sure we are on hand to offer expert advice and guidance.

Although the class concentrates on cupcake decorating a short introductory talk is given at the start of the class on how to bake and prepare the perfect cupcake ready for decorating. This information, full of informative hints and tips and the recipes we have used for the class, is also provided on a fact sheet for you to take away at the end of the workshop.

All ingredients and equipment to create the class designs is supplied for use for the duration of the class, including an apron for you to wear. Once you have booked your class space, all you need to do is turn up!

Complimentary tea, coffee and biscuits will be served during the class.

Maximum class size: 14 students

At the end of the class there will be a small shop with a selection of equipment for sale including recommended cutters, nozzles and tool sets, should you wish to recreate any of the class designs at home.


Oreo Chocolate Cake Recipe

CHOCOLATE OREO CAKE WITH CREAM CHEESE BUTTER CREAM FROSTING

Oreo chocolate cake recipe

For my sons birthday this year I made a Chocolate Oreo Cake based on his favourite biscuit.

I couldn’t find an existing Oreo cake recipe I was completely satisfied with, so I decided to adapt a Mary Berry chocolate fudge cake recipe to suit my needs and make up my own cream cheese buttercream biscuit filling.

There is always potential for disaster when adapting and experimenting with new recipes, but I am pleased to say that this cake was a huge success!

Now I’m not going to lie to you! This cake is naughty but as my son would say ‘OMG!!!’ It is incredibly nice!

Oreo Cake Recipe


Ingredients

FOR THE CAKE

  • 50 g (2 oz) sifted cocoa powder
  • 6 tablespoons boiling water
  • 3 Large Eggs
  • 50 ml (2 fl oz) milk
  • 175 g (6 oz) self-raising flour
  • 1 rounded teaspoon baking powder
  • 100 g (4 oz) softened butter
  • 275 g (10 oz) caster sugar
  • 6 Oreo cookies

FOR THE FROSTING

  • 200g Full Fat Cream Cheese
  •  175g Butter
  • 500g Icing Sugar
  • 12 – 14 Oreo Cookies

FOR THE DECORATION

  • Mini Oreo Cookies 


Method

1 Pre-heat the oven to 180°C/Fan 160°C/Gas 4. Line two 20 cm (8 in) sandwich tins with baking parchment.

2 Blend the cocoa and boiling water in a large bowl. Add the eggs, milk, softened butter and caster sugar and mix with an electric hand mixer. Fold in the sifted flour and baking powder and mix until the mixture has become a smooth batter. Divide the cake mix equally between the prepared tins and level the surface.

3 Roughly crush 6 Oreo biscuits in your hands one at a time and sprinkle onto the top of the cake mix sat in the tins. Push the pieces of biscuit down into the cake mix but do not submerge.

4 Bake in the pre-heated oven for about 30–35 minutes or until well risen and the tops of the cakes spring back when lightly pressed with a finger. Leave to cool in the tins for a few minutes then turn out on to a wire rack to cool. Handle carefully so as not to disturb the pieces of biscuit.

5 To make the frosting, using a hand mixer, beat together the cream cheese and softened butter until smooth. Sift the icing sugar into the mixture and whisk until combined. Mix on a high speed until light and fluffy with a white apperance.

6 Place 12 – 14 Oreos into a strong sandwich bag and secure the top of the bag. Crush the Oreos with a rolling pin or spoon until they form your required sized crumbs and pour into the bowl of frosting and mix.

7 Once your cakes have cooled, remove any remaining baking parchment and place one cake onto a cake plate, Oreo side up. Add a generous layer of cream cheese Oreo frosting to the bottom cake and sandwich the cakes together, again Oreo side up. Spread another generous layer of frosting over the top of the cake and decorate with mini Oreo biscuits.

oreo chocolate cake


Top Tips

Remember, when using a cream cheese frosting, this cake should either be kept in the fridge and consumed within 5 days or consumed within 2 days if kept out of the fridge.

If you do refrigerate the cake, it is best enjoyed once brought back to room temperature.

To save the Oreo biscuits going too soft, I prefer to make and add the frosting just before serving.

If you would prefer not to use cream cheese, you can replace this with an extra 75g of butter and 3 tbsp of milk, and 2 tsp of vanilla extract.